Windows Outlook ActiveSync Setup
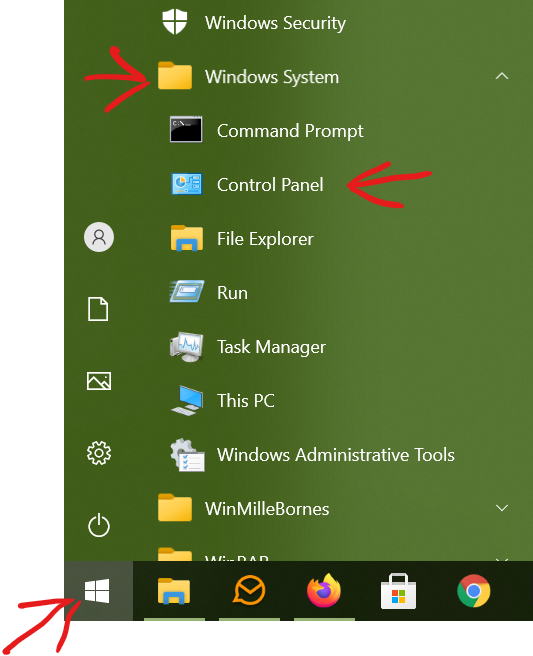
1. Open the Windows Control Panel – Start –> Windows System –> Control Panel
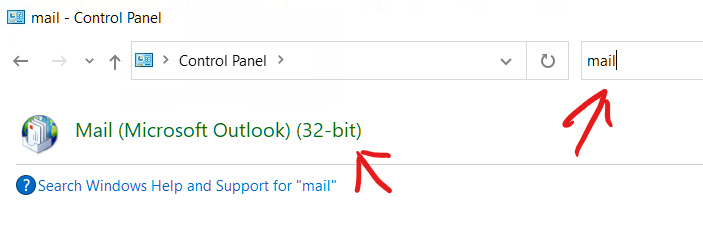
2. Search for mail application.
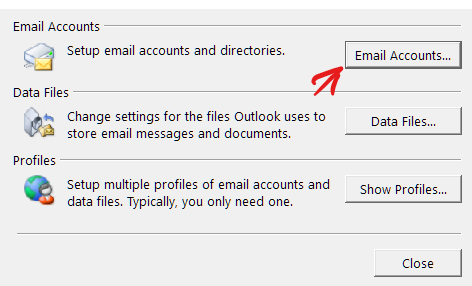
3. Select Email Accounts…
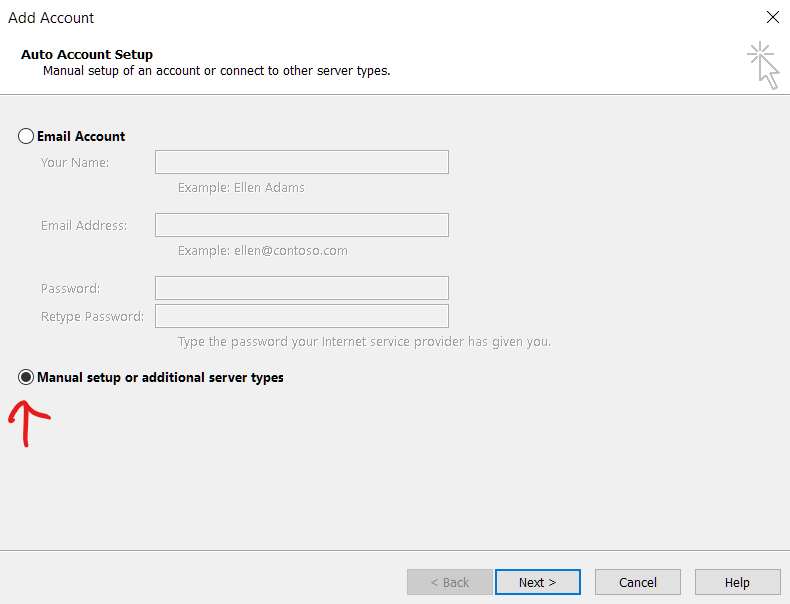
4. Select Manual setup or additional server types then select Next
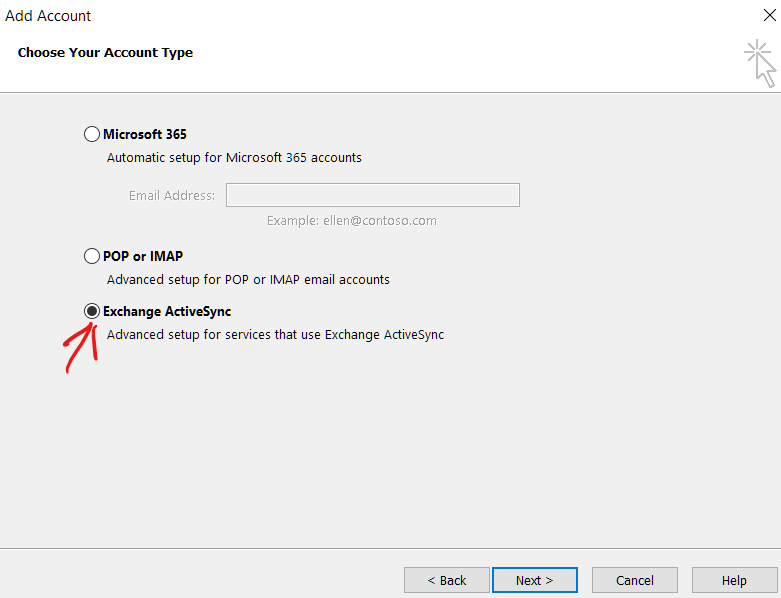
5. Select Exchange ActiveSync then select Next
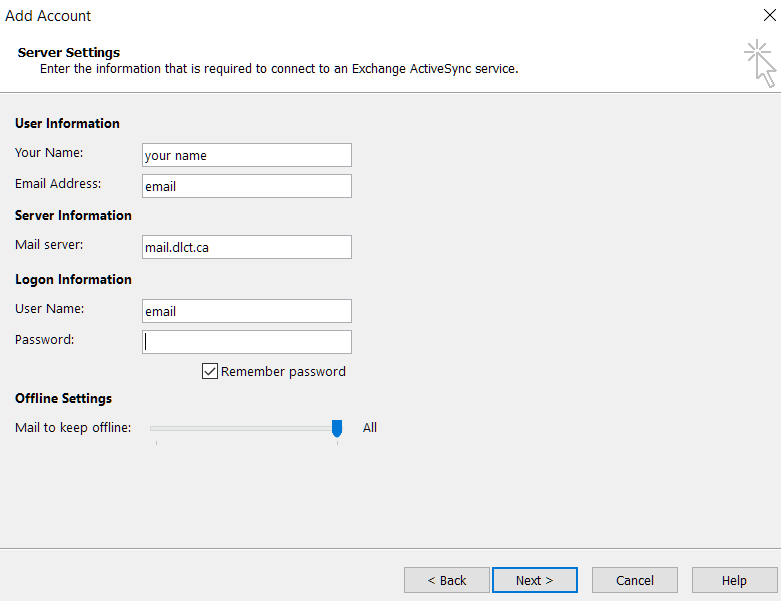
6. Enter your account information then select Next
| Your Name: | Name recipient will see when you send email. |
| Email Address: | your email address |
| Mail Server: | mail.dlct.ca |
| User Name: | your email address |
| Password: | your password |
| Remember Password | Check |
| Mail to keep offline: | All |
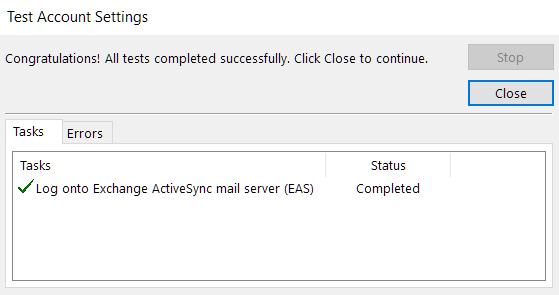
7. If everything worked correctly you should see a green check mark.