
Windows Outlook IMAP Setup
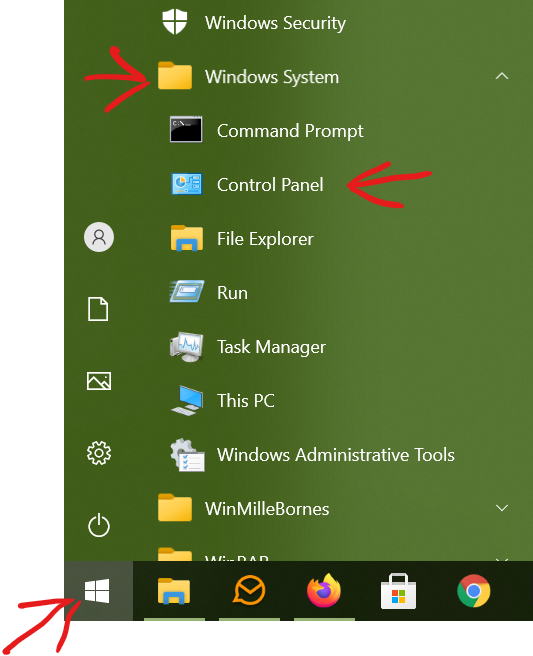
1. Open the Windows Control Panel: Start –> Windows System –> Control Panel
2. Search for mail application.
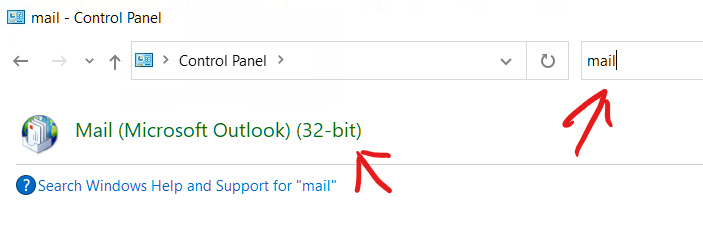
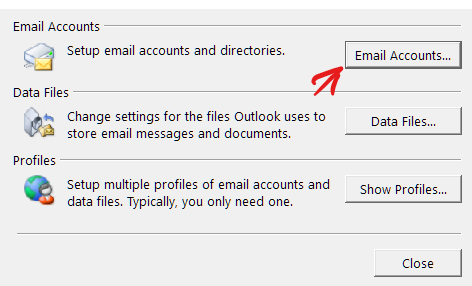
3. Select Email Accounts…
4. Select Manual setup or additional server types
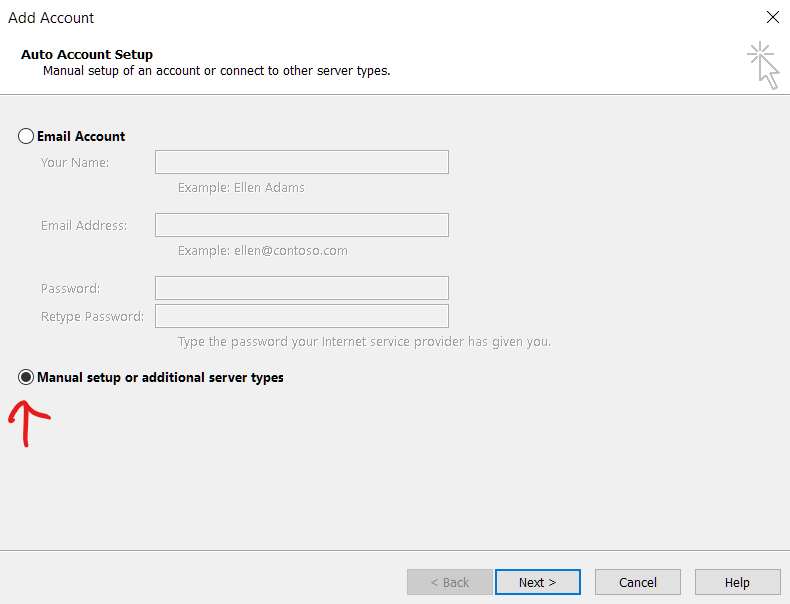
Click Next
5. Select POP or IMAP
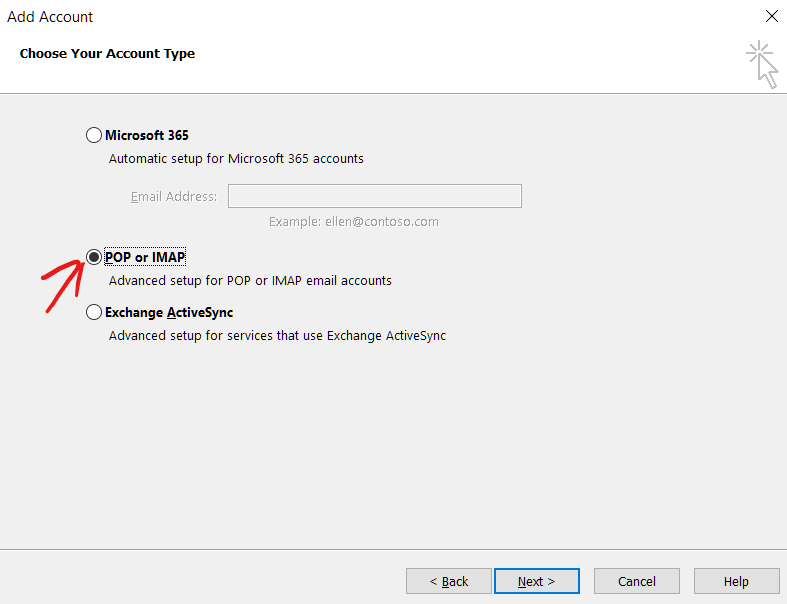
Click Next
6. Enter your account information:
| Your Name: | Name recipient will see when you send email. |
| Email Address: | your email address |
| Account Type: | IMAP |
| Incoming mail server: | mail.dlct.ca |
| Outgoing mail server (SMTP) | mail.dlct.ca |
| User Name: | your email address |
| Password: | your password |
| Remember Password | Check |
| Require logon using Secure Password | Leave unchecked |
| Mail to keep offline: | All |
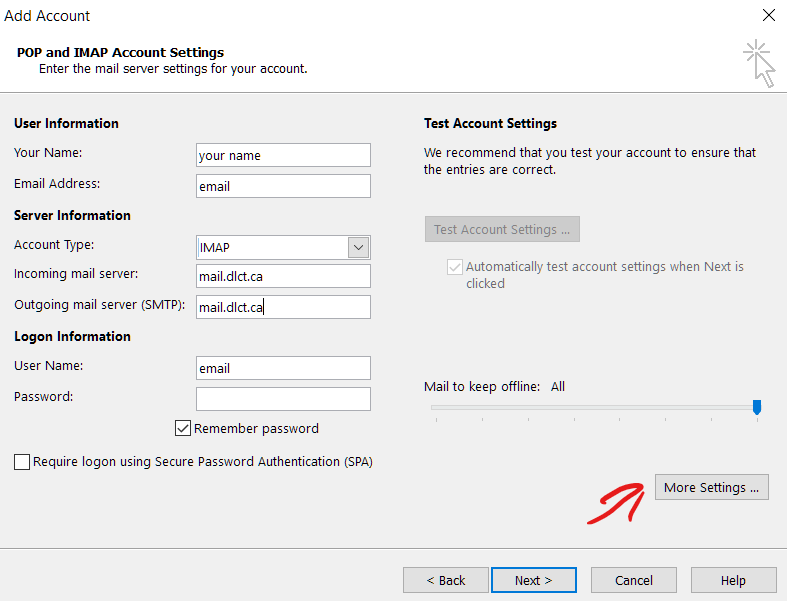
Click More Settings…
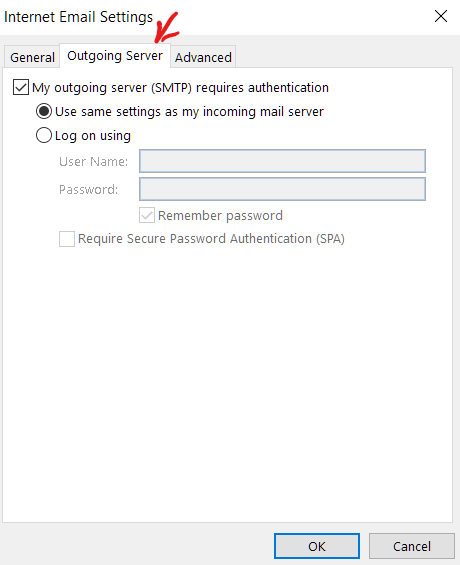
7. Select the Outgoing Server tab and select My outgoing server (SMTP) requires authentication selected. Leave Use same settings as my incoming mail server checked.
8. Select the Advanced tab – change these these settings and leave everything else as the default:
| Incoming server (IMAP): | 993 |
| Type of encrypted connection: | SSL/TLS |
| Outgoing server (SMTP): | 465 |
| Type of encrypted connection: | SSL/TLS |
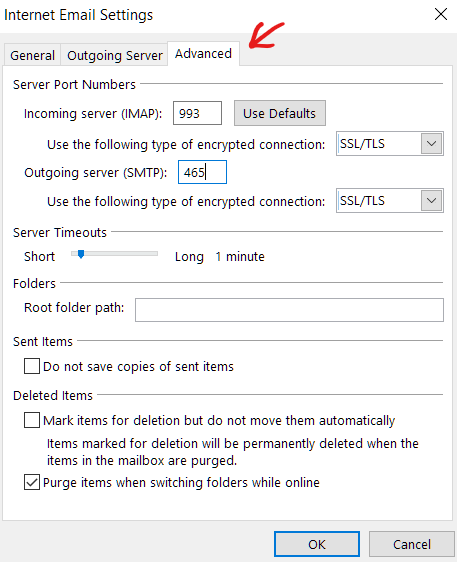
Click OK to close this window and then Next from the previous window.
9. Outlook will test the connection and you should see two green check marks.
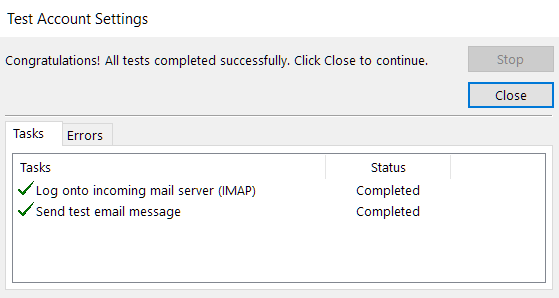
Click Close then Next then Close
At this point email should be working but by default, Outlook is not able to synchronize your Calendar and Contacts. If you would like to have your Calendar and Contacts available in Outlook, you will have to continue with the next steps and install an Outlook add-on.
10. Download and save the CalDav Synchronizer to you desktop. Right click on the file and select Extract All…
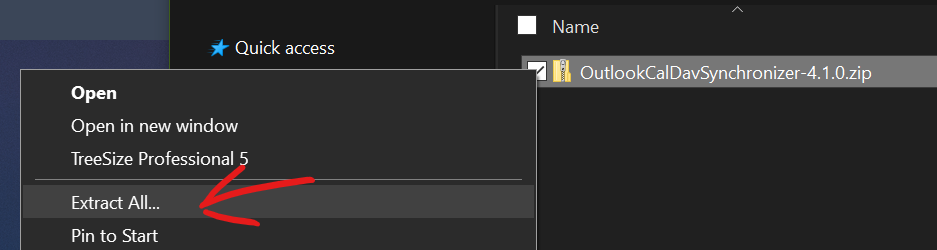
Click Extract
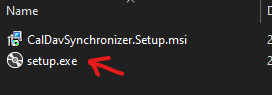
11. This will create a new folder called OutlookCalDevSynchroniser. Go into that folder and run setup.exe Follow / accept the prompts to install the application.
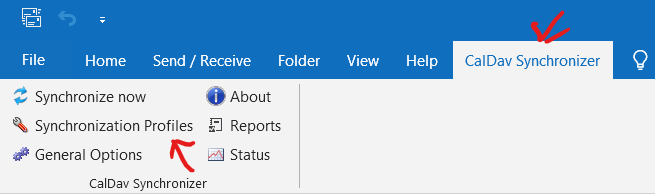
12. Open Outlook – you should start seeing your email downloading. Select the tab CalDav Synchronizer then Synchronization Profiles
13. To add your calendar click the green plus then select Sogo
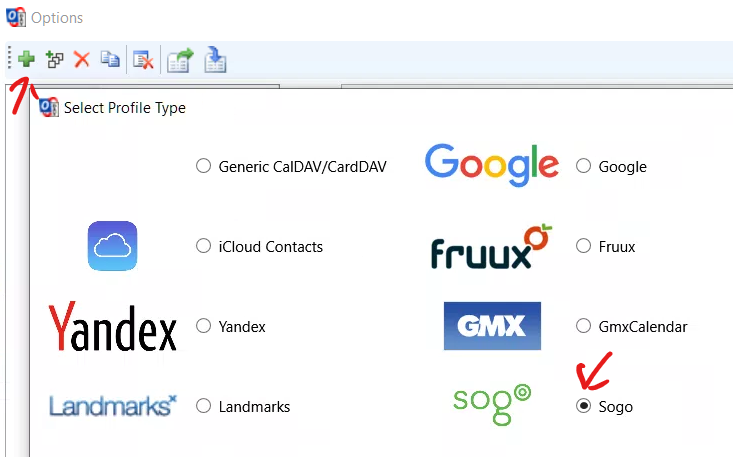
Click Ok
14. Enter the following information: (make sure to type in your email address in the DAV URL)
| Name: | Calendar |
| DAV URL: | https://mail.dlct.ca/SOGo/dav/your@email.ca/Calendar/personal/ |
| Username: | your email address |
| Password: | your password |
| Email Address: | your email address |
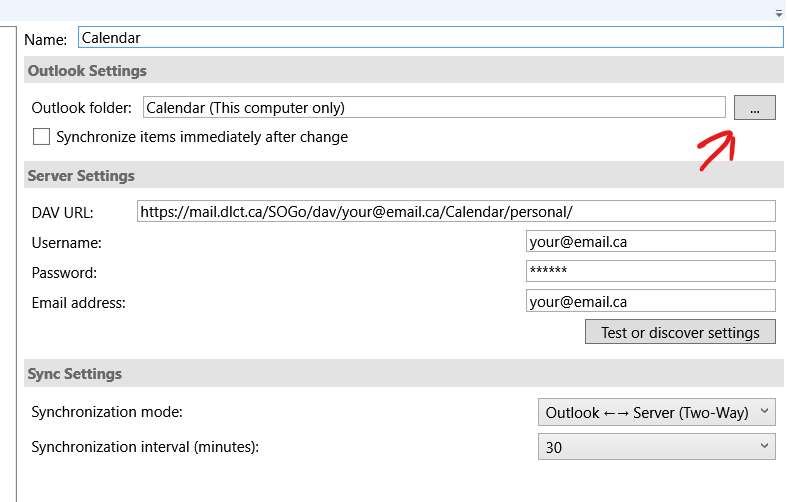
15. Select the menu button beside Outlook folder
16. Select Calendar (This computer only)
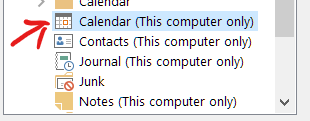
Click Ok
17. To add your contacts click the green plus then select Sogo
Click Ok
18. Enter the following information: (make sure to type in your email address in the DAV URL)
| Name: | Contacts |
| DAV URL: | https://mail.dlct.ca/SOGo/dav/your@email.ca/Contacts/personal/ |
| Username: | your email address |
| Password: | your password |
| Email Address: | your email address |

19. Select the menu button beside Outlook folder
20. Select Contacts (This computer only)
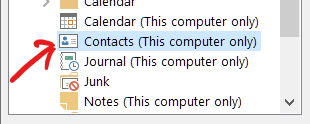
Click Ok then Ok again to close the CalDav Synchronizer
You should now have all your email, calendar, and contacts synced to Outlook.